
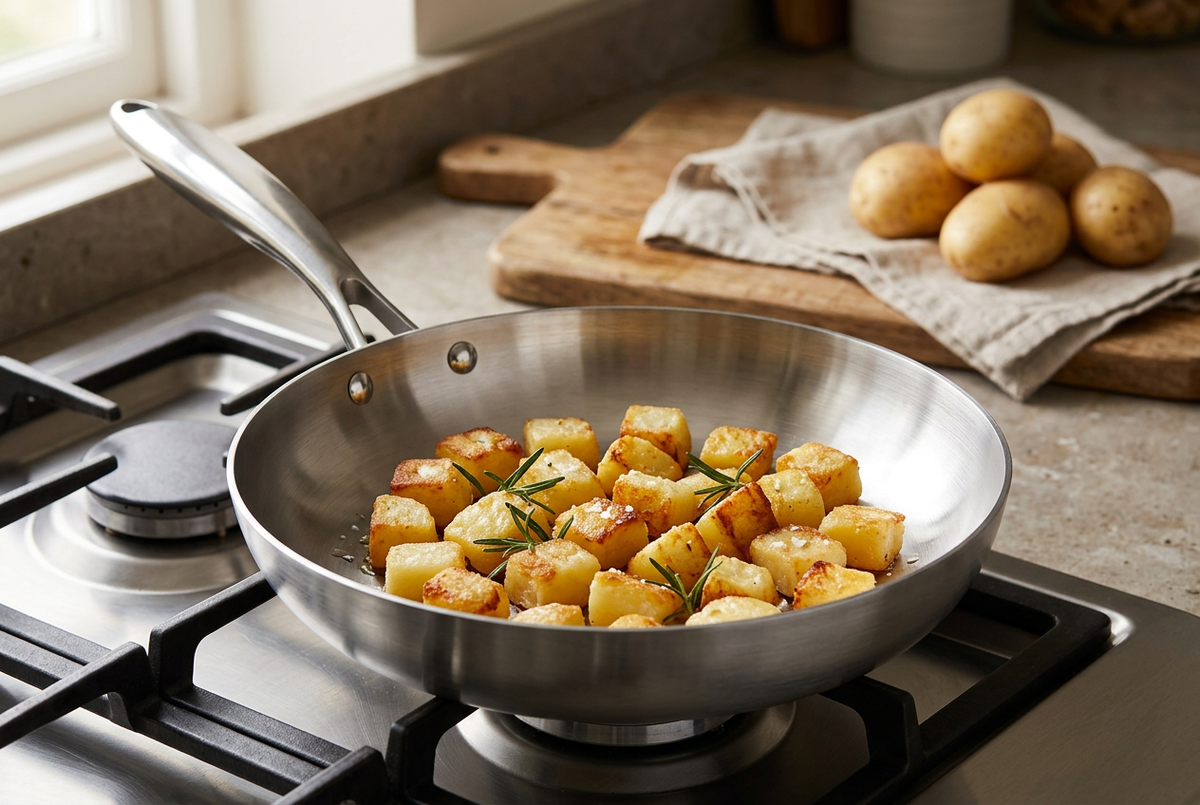
To make crispy potatoes in a frying pan, cut them into even 2cm pieces, parboil until the edges soften, then drain and let the surface dry. Fry in a single layer in a preheated pan with a thin coating of oil over medium heat, turning only after a golden crust forms. Allow roughly 15–25 minutes for frying, depending on the potatoes and hob. Do not overcrowd the pan, and add garlic or butter near the end so they do not burn.
That is the basic method. The difference between pale, broken potatoes and a golden, crisp batch usually comes down to a few small decisions: the potato variety, how thoroughly you dry it, how much space you leave and when you turn each piece. You do not need a deep fryer or a complicated coating.
This guide explains how to make pan-fried potatoes with a fluffy middle and a satisfying crust, including a straightforward recipe, advice for stainless steel pans, flavour variations and fixes for the problems that most often get in the way. It is a practical technique for breakfast, a quick supper or a side dish that does not need the oven.
Why potatoes go crispy in a frying pan
A crisp crust develops when the potato surface loses moisture and browns against the hot pan. If that surface is wet, much of the initial heat goes into evaporating water rather than developing colour. If the pan is crowded, steam has less room to escape, making it harder to get the texture you want.
Parboiling separates two jobs that otherwise compete with each other. First, you soften the centre in water. Then you use the frying pan to dry and brown the outside. Without that first step, large raw pieces can colour before their centres are ready, particularly if you turn up the heat to hurry them along.
The aim is not the highest possible temperature. You want controlled heat that browns the surface while giving the potatoes time to heat through evenly. A moderate sizzle and a little patience are more useful than an aggressively smoking pan.
Which potatoes are best for pan-frying?
Floury potatoes for a fluffy centre
Maris Piper and King Edward are familiar choices in British kitchens when you want a fluffy interior and edges that roughen slightly after boiling. Those uneven edges give you more surface texture to brown. Handle them gently after parboiling, because a floury potato that is cooked too far can crumble before it reaches the frying pan.
If you are learning the method, Maris Piper is a useful starting point. Cut the pieces evenly and stop the initial simmer while they are still strong enough to lift without breaking. You want softened edges, not a saucepan of ready-to-mash potatoes.
Waxy potatoes for firmer pieces
Charlotte and other waxier potatoes tend to hold their shape more firmly. They work well when you prefer neat slices or small cubes with a denser centre. Their crust can still become golden and crisp, but the result will feel different from a floury potato with a rough, fluffy surface.
Choose according to the texture you enjoy rather than assuming one type is universally correct. A warm potato salad benefits from intact pieces, while a rustic breakfast hash may suit rougher edges. Either way, moisture control and space in the pan still matter.
Do the skins need to come off?
No. Scrub the potatoes well and leave the skins on if you like their texture, removing any damaged parts. Peeling gives a more uniform surface and may suit a classic side dish. The important point is consistency: similar-sized pieces cook more evenly whether they are peeled or not.
The right frying pan and utensils
Choose a frying pan with enough usable cooking surface to hold your potatoes in one layer. A deep pile cannot brown evenly against the base. If the batch is too large for your pan, divide it rather than hoping extra heat will compensate. Two manageable batches usually produce better results than one crowded pan.
Culivra’s 304 Stainless Steel Frying Pan has an uncoated stainless steel surface and is suitable for gas and induction hobs, according to its product information. It is a relevant option for controlled pan-frying, provided you choose a size that comfortably fits the quantity you are cooking.
A broad turner is helpful for lifting potatoes without crushing them. Use utensils appropriate for your cookware and follow its care instructions. You will also need a saucepan for parboiling, a colander, a clean tray or plate for drying and somewhere ready to serve the finished potatoes.
If stainless steel is new to you, our guide to cooking with stainless steel without food sticking provides a useful companion. The key habits are controlled preheating, an appropriate amount of fat and allowing food time to develop a crust before moving it.
Crispy pan-fried potatoes: a simple recipe
This recipe makes approximately two generous side portions. Timings vary with the potato variety, the exact piece size and the pan, so use colour and tenderness alongside the clock. If your pan cannot hold the potatoes comfortably in one layer, cook them in batches.
Ingredients
- 500g potatoes, such as Maris Piper, scrubbed or peeled
- 2 tablespoons rapeseed oil or another oil suitable for frying, adjusted to lightly coat your pan
- Salt and freshly ground black pepper, to taste
- 1 small rosemary sprig or a pinch of dried thyme, optional
- 1 small garlic clove, finely chopped, optional
- A small knob of butter, optional, for finishing
- Chopped parsley, optional, to serve
Step 1: cut evenly
Cut the potatoes into pieces about 2cm across. Exact cubes are not essential, but avoid mixing very small fragments with large chunks. The smallest pieces will soften and colour long before the largest ones. Trim unusually thin ends separately and save them for another use if necessary.
Rinse the cut potatoes briefly to remove loose surface starch. Do not worry about making the water perfectly clear; the important steps are the initial cooking and drying. Transfer the pieces to a saucepan and cover with cold water.
Step 2: parboil until the edges soften
Add a little salt to the water if desired, bring to a gentle boil and reduce to a steady simmer. Begin checking after around five minutes of simmering. Pieces of this size often need roughly five to eight minutes, but variety and hob strength affect the result.
A small knife should enter the outside readily while meeting some resistance towards the centre. The pieces should still hold together. If the edges are collapsing and the middle is completely soft, drain immediately and be especially gentle in the next steps.
Step 3: drain and let the surface dry
Drain thoroughly, then spread the potatoes on a tray or wide plate so steam can escape. Let them stand for roughly five to ten minutes, or until the surface no longer looks visibly wet. A deep mound in a colander traps more steam than a shallow layer.
For floury potatoes, a very gentle shake in the colander can roughen the edges, but stop before the pieces break. Do not rub soft potatoes dry with a towel. The goal is simply to remove excess surface moisture without damaging the shape you have just prepared.
Step 4: warm the pan and add oil
Preheat your frying pan gradually over medium heat, following the cookware’s instructions. Add enough oil to make a thin, continuous film across the cooking area. It should move readily around the base, but it should not be smoking aggressively.
Lower the potatoes carefully into the pan, placing them away from you to reduce the risk of splashes. You should hear a steady sizzle. If the oil begins smoking or the first pieces darken almost immediately, reduce the heat before adding the rest.
Step 5: leave the first side alone
Arrange the pieces in one layer with a little space between them. Let the first side colour before turning. Begin checking a piece after several minutes rather than repeatedly stirring the entire pan. On stainless steel, a formed crust often releases more readily than a pale surface that has only just touched the pan.
Use your turner gently. If a piece resists lifting, give it a little more time while checking that it is not burning. Rotate the pan or adjust its position if your hob has a noticeable hot spot. Lower the heat when colour develops faster than the potatoes warm through.
Step 6: turn and finish
Turn the potatoes onto another side and continue frying, moving them occasionally as each surface browns. Expect roughly 15–25 minutes of frying overall, with smaller or more thoroughly parboiled pieces sometimes needing less. Taste a piece once it has cooled enough to check that the centre is fully tender.
Add rosemary during the latter part of cooking. If using chopped garlic and butter, add them only for the final minute or two over a lower heat, stirring gently so the garlic becomes fragrant without turning dark. Season to taste, scatter over parsley if using and serve promptly.
Can you fry potatoes without boiling them first?
Yes, but the technique needs adjusting. Raw potatoes work better when cut into smaller dice or thin, even slices. They need enough time over moderate heat for the centre to soften before the surface becomes too dark. Large raw chunks are a less forgiving choice for beginners.
Some methods use a brief covered stage to help the potatoes soften in their own steam. If you use that approach, remove the lid for the final browning stage so moisture can escape. Expect the texture and timing to differ from the parboiled method rather than treating the two methods as identical.
For reliably fluffy centres and a clear separation between cooking and crisping, parboiling is the easier starting point. Once you know how your pan and hob behave, you can experiment with raw sliced potatoes for a different style of side dish.
How much oil do pan-fried potatoes need?
You need enough to create a light film between the potatoes and the pan, not a deep pool. Two tablespoons is a useful starting point for this recipe, but the exact amount depends on the pan’s surface area and the texture of the potatoes. Rough, floury edges can pick up oil differently from smooth slices.
If the base looks dry and the potatoes are catching before browning properly, add a small amount around the edge of the pan and tilt carefully to distribute it. Do not keep adding oil automatically whenever a potato sticks. Inadequate preheating, early turning and overcrowding can cause problems that more oil will not solve.
Butter is useful for flavour, but it is less forgiving during a long frying stage because its milk solids can burn. Use a suitable frying oil for the main cooking and add a little butter towards the end if you enjoy the flavour.
Why your potatoes are not crispy
The surface was too wet
Freshly drained potatoes often look ready while still releasing plenty of steam. Give them room to dry before frying. Water hitting hot oil can also splatter, so lowering visibly wet pieces into the pan is not a shortcut worth taking.
If the potatoes are already in the pan and steaming heavily, avoid adding more. Let moisture escape, keep the pan uncovered and work in smaller batches next time. Raising the heat sharply can burn the contact points without solving the overall moisture problem.
The pan was overcrowded
When pieces overlap, the upper potatoes are not touching the cooking surface and steam accumulates between them. Remove some to a plate if necessary, then finish each batch separately. The first batch may lose a little crispness while waiting, so serve in smaller rounds when that suits the meal.
The same moisture-management principle appears in our guide to cooking mushrooms without them going soggy. Different ingredients need different methods, but giving moisture somewhere to escape is a useful habit across pan cooking.
You kept stirring
Potatoes need uninterrupted contact with the base to form a crust. Constant stirring can knock off their softened edges before those edges brown. Think in terms of turning individual sides rather than tossing continuously.
That does not mean abandoning the pan. Watch, listen and check a representative piece periodically. Leave the potatoes alone long enough to colour, but adjust the heat if you smell scorching or see one area becoming much darker than the rest.
The heat was wrong
Low heat can give you oily, pale potatoes; excessive heat can produce dark outsides and firm centres. Start around medium, then adapt to your hob and pan. A heavy pan may respond more slowly to a change in setting, so make adjustments before a problem becomes severe.
Why do potatoes stick to stainless steel?
Potatoes can stick when the pan is not appropriately preheated, the surface is too wet, the oil film is insufficient or you try to lift them before a crust has formed. These causes often overlap, which is why a single trick does not reliably fix every batch.
Begin with a clean pan, heat it gradually and add oil before the potatoes. Keep the first batch modest so you can observe the response. If the first side is golden and still firmly attached, slide a broad turner underneath carefully rather than tearing upwards with a fork.
A few browned marks left behind do not automatically mean the cooking has failed. However, blackened residue and bitter smells indicate excessive heat or burnt ingredients. Do not scrape burnt garlic into the finished potatoes in an attempt to recover every last piece.
Flavour variations that keep the crust crisp
Garlic and rosemary potatoes
Use the base recipe with rosemary near the end and finely chopped garlic during the final minute or two. Toss gently and serve straight away. Adding garlic at the start is likely to leave it burnt before the potatoes are ready.
Smoky paprika potatoes
Sprinkle over a little smoked paprika towards the end and lower the heat so it does not scorch. Finish with parsley and serve a dipping sauce alongside rather than pouring it over the potatoes. That keeps the browned surfaces exposed instead of soaking them.
Potatoes with onions
Cook the onions separately, then combine them with the finished potatoes briefly. Raw onions release moisture and need their own cooking time, so adding them to a crowded potato pan can make both ingredients harder to manage.
For a sweeter finish, make a small batch using our guide to caramelising onions without burning them. Fold in only what you need at serving time so the potatoes retain some crisp edges.
Lemon and herb potatoes
Add lemon zest and chopped parsley after cooking, with a small squeeze of lemon at the table if desired. Zest gives fragrance without introducing much liquid. A heavy coating of juice or dressing will gradually soften the crust, so use a light hand.
What to serve with crispy pan-fried potatoes
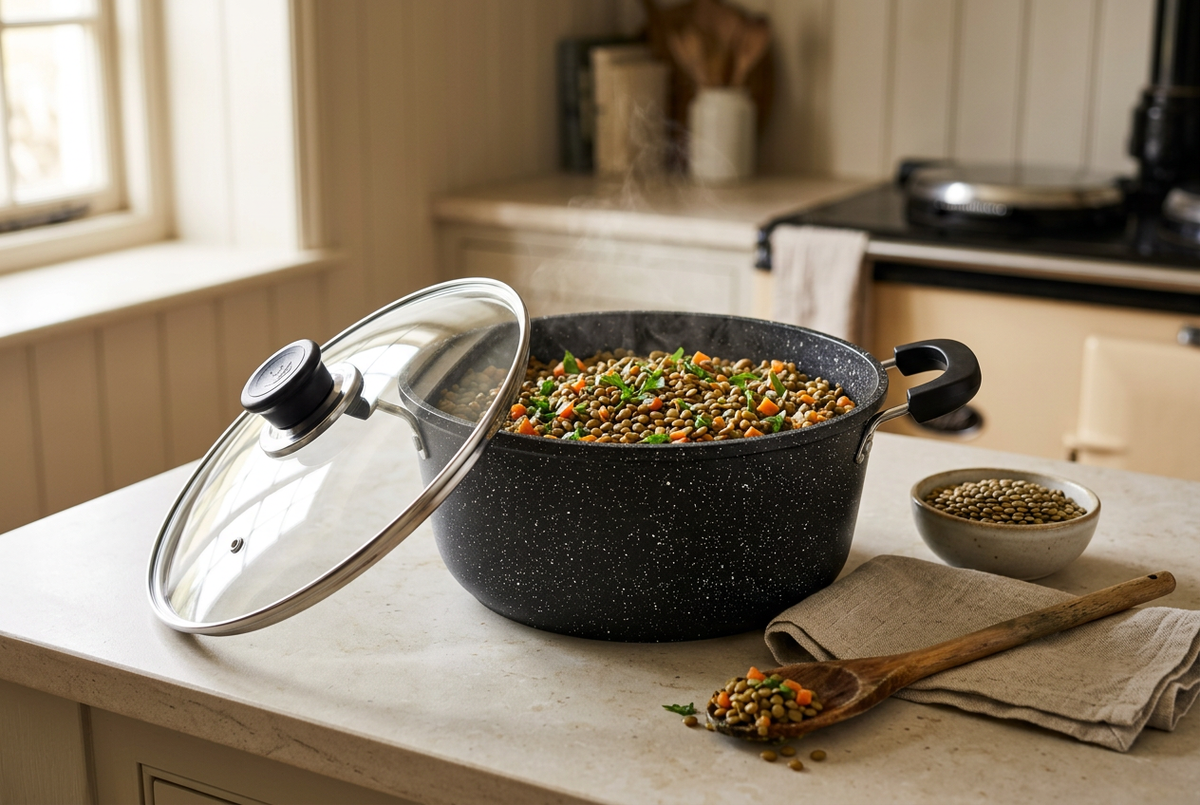
For breakfast, pair them with eggs, tomatoes or mushrooms. For dinner, serve them alongside cooked beans, lentils, vegetables or a main of your choice. Their crisp texture works particularly well against something softer, such as a lentil stew or a vegetable-based sauce.
Our guide to cooking lentils from scratch offers an adaptable base for a satisfying vegetable-led meal. Keep the potatoes separate until serving rather than stirring them into liquid if preserving the crust matters to you.
If you are cooking for a larger group, oven roasting may be more practical than managing several frying-pan batches. See our guide to roasting vegetables for the same broad principles of even cutting, space and controlled browning applied to the oven.
Frequently asked questions
How long do potatoes take to fry?
Parboiled 2cm pieces commonly need about 15–25 minutes in the frying pan. Treat that as a guide rather than a guarantee. Potato variety, pan size, heat and how far you parboiled them all affect the timing. They are ready when the outside is golden and the centre is tender.
Should I cover the frying pan?
Leave it uncovered during the crisping stage so steam can escape. A lid can help soften raw potatoes in some methods, but it traps moisture. For the parboiled recipe here, an uncovered pan gives you better control over browning.
Can I use cooked potatoes from an earlier meal?
Yes, provided they were cooled, stored and handled safely. Dry the surface, cut them evenly and fry until hot throughout and golden outside. Already tender potatoes need gentler handling than partly cooked ones. Follow current food-safety guidance and avoid repeatedly reheating the same batch.
Should I salt potatoes before or after frying?
You can lightly salt the parboiling water, then adjust the final seasoning after frying. Finishing at the end makes it easier to judge the whole dish, particularly if you are adding salted butter or another seasoned accompaniment. Taste a cooled piece rather than adding salt automatically.
Can I make them ahead?
The crispest result is usually served straight from the pan. If preparing components ahead, handle the cooked potatoes according to current cooling and storage guidance rather than leaving them standing out. Reheating can restore some texture, but it will not necessarily reproduce a freshly fried crust.
Is a nonstick pan suitable?
A suitable nonstick pan can work, provided you follow its temperature and utensil guidance. You do not need to use stainless steel to make the recipe. Whichever pan you choose, avoid overheating it and focus on dry potatoes, a light oil film and an uncrowded cooking surface.
The three habits worth remembering
If you remember only three things, make them these: soften the centres first, dry the outside and give the potatoes space. After that, controlled heat and patient turning do most of the work. You are aiming for golden colour and a fully tender centre, not the darkest possible crust.
Start with a small batch so you can learn how your hob responds. Adjust the heat as needed, add delicate flavourings late and serve promptly. For an uncoated cookware option suited to this style of cooking, explore Culivra’s 304 Stainless Steel Frying Pan and put the method to work in your next breakfast or dinner.

Leave a comment
This site is protected by hCaptcha and the hCaptcha Privacy Policy and Terms of Service apply.